
When I played Shinnecock Hills last month for the 118th U.S. Open Media Day, I learned almost immediately why this is an architectural masterpiece. Elevated tees, masterful doglegs, corner bunkers, raised greens, varying severities of fall-off, and routing that forces you to deal with wind at your face, at your back, and coming in from left and right. Shinnecock is pure golf the way it's meant to be played.


One of the USGA's original founding clubs, Shinnecock extends today to 7,445 yards, and plays as a par-70. That's a formidable length for sure, but far from the only challenge. Inspiring vistas of emerald green fairways and golden fescue can become a mesmerizing abyss of fear with one wrong swing or decision. Almost every green is ground zero for short-game tragedy. Shinnecock is an extraordinarily difficult test of golf, but it's also an extraordinarily rewarding one. That was true in 1896 when the U.S. Open was first played here, and that's still true today.
HOLE #1 "Westward Ho"
Par-4, 399-Yards
George Lucas couldn't have written a hollywood script more incredible than what actually happened on my first hole at Shinnecock. Just moments after I stuck my tee into the ground and USGA Executive Director Mike Davis wished me good luck, I hit my drive left of the second fairway bunker about 275 yards out. On my second shot I fired a PW into the heart of the green and left myself with about 12 feet for birdie. And then on my birdie putt I rolled the ball confidently right into the cup.


First time playing venerable Shinnecock Hills. Playing from the U.S. Open back tees. Fairway hit. Green hit. One-putt birdie. I gave myself a controlled fist shake-pump as my ball dropped, and laughed off my partners calling me a sandbagger. It was the best moment I've ever experienced playing golf. My WITB for this exploit? Callaway Rogue driver, Wilson Staff C300 irons, Piretti Firenze putter, and Titleist AVX golf ball.

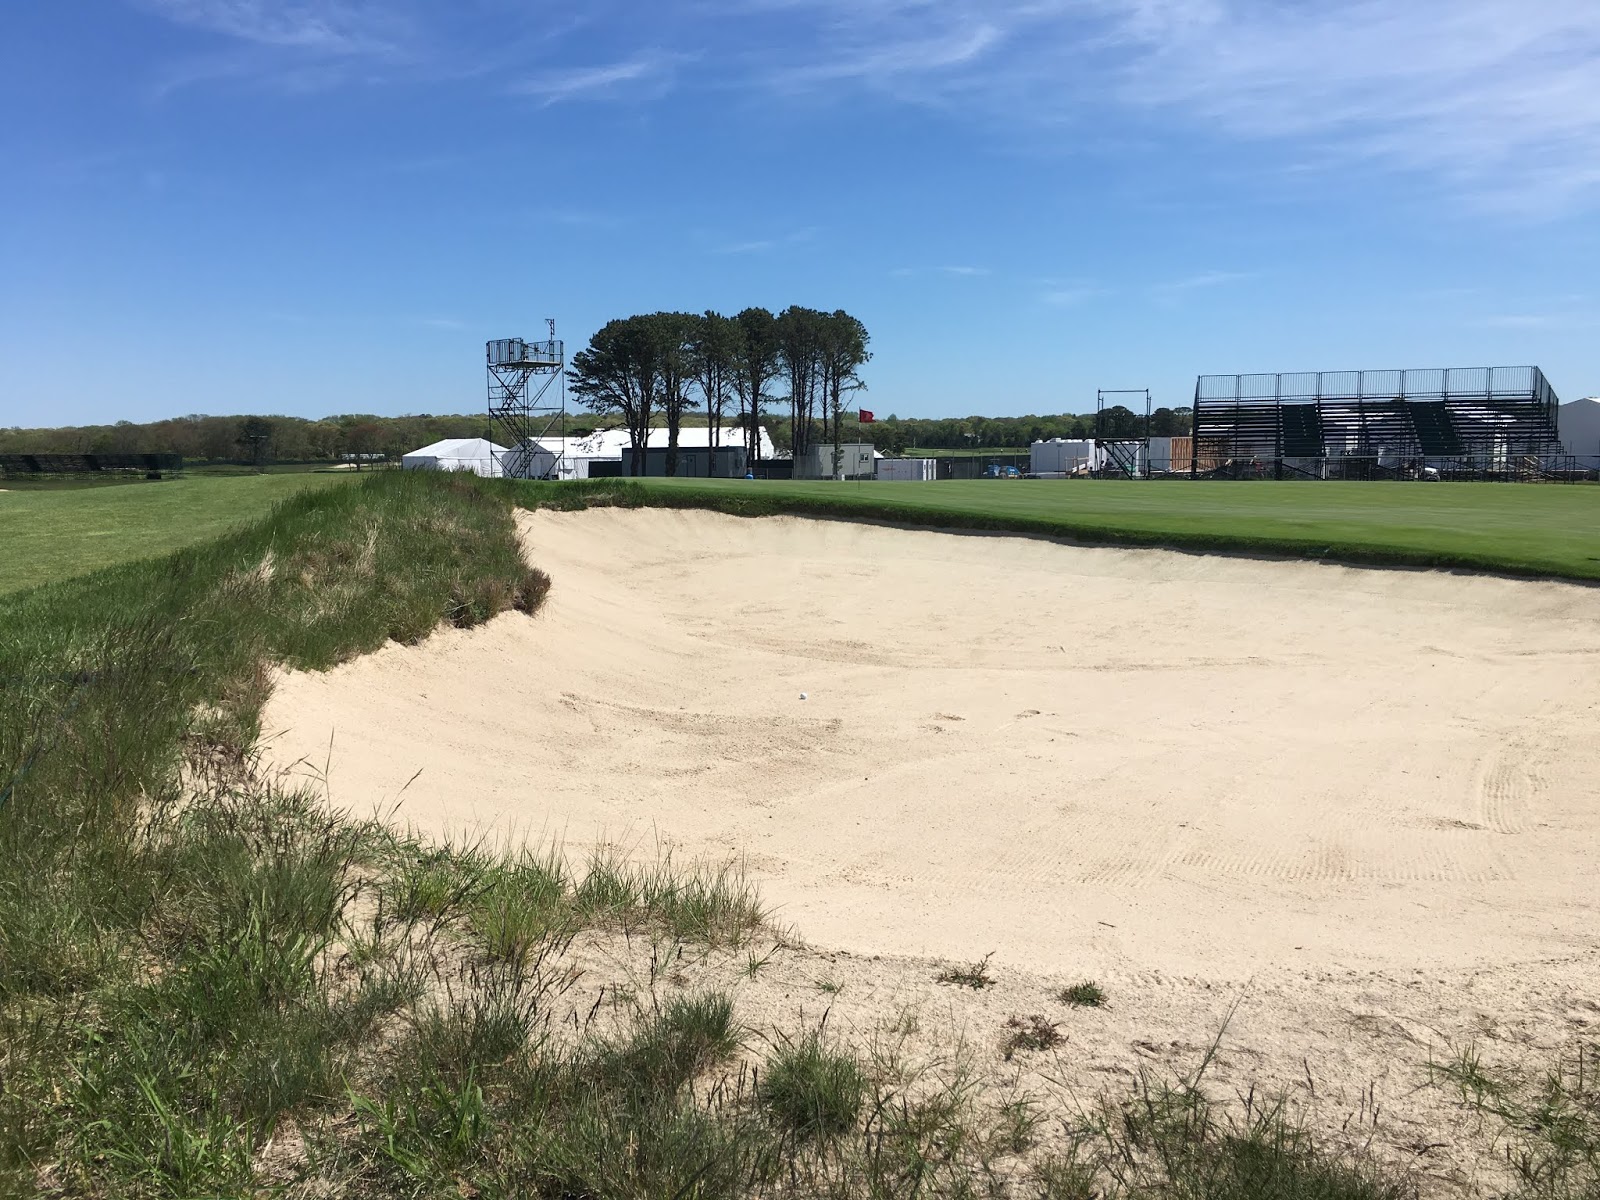
I will admit though, No. 1 is probably the easiest hole on the course. It's pretty easy to carry the first set of two bunkers about 200 yards out, and hitting the fairway anywhere past that but before the second bunker at about 275 yards gives you a very generous landing area (about 60 yards wide).


Westward Ho is one of only two par-4s on the course under 400 yards, and the only real trouble off the tee is the fescue on the right. That's only going to come in play if you slice the ball, the winds get really obnoxious, or the craziest - you try to drive the green. The green slopes from back to front, but falls off on both sides into the greenside bunkers. Middle of the green is a great place to hit into regardless of pin position.
HOLE #2 "Plateau"
Par-3, 252-Yards
Driver on a par-3? I'm not ashamed to say that's what I did, and I wouldn't be surprised to see a few pros do the same this week. No. 2 is the longest par-3 on the course, and quickly reminds you it's not going to be easy getting around Shinny.


The hole plays uphill, but with a prevailing downwind and large green that's open in the front, you have the option to play the ground game and roll your shot up onto the putting surface. Easier said than done however because of a subtle upslope just short of the green.


Bunkers on both sides of the green are deep, but fortunately the putting surface is sloped away from them and back into the center so you're not likely to have shots that hit the green roll off into them. The bad miss on No. 2 is left, where the deep rough and tall fescue has catastrophe written all over it. This is going to be a popular miss area if you go after it harder off the tee because of the distance and then pull your shot. Missing long makes for a tough up-and-down as the green falls off sharply in the back.
HOLE #3 "Peconic"
Par-4, 500-Yards
This second longest par-4 at Shinnecock was one of the toughest holes for me. A drive of about 250 yards over a visually intimidating waste area of sand and fescue will safely find a generous landing area that's about 60-yards wide. The problem with that is you have another 250-yard shot waiting for your second shot. The green is wide open in the front and slightly pitched from the back, making a run-up shot a sound strategy, but again we're talking some 250 yards.


Your other option is to let it rip off the tee, but drives approaching 300 yards have a landing zone about half as narrow, bring the fairway bunker on the right corner of the dogleg into play, and worst case scenario - you're in that tall fescue now and your ball could be lost forever. If you don't hit a perfect drive that's both long and accurate, it's almost impossible to hit the green.


For those of you who are curious on my approach? Let's just say next time I'm choosing the shot-saving strategy of hitting to the wider (and safer) landing area. My drive found the fescue, and consequently my scorecard took a turn towards the nasty and absurd.
HOLE #4 "Pump House"
Par-4, 475-Yards
The closer you are to the right side off the tee, the better angle and shorter approach you'll have into the green. Unfortunately there's an insane amount of trouble on the right side of this dogleg-right fairway. A lot of the rough at Shinnecock is so thick and tall (in some places like 4-inches), that it will actually prevent your ball from going into the next cut of fescue. That's not the case on this hole.


If you don't feel like taking on the fescue the fairway is generally pretty wide overall, and anything middle and right are safe. Of course, that means you're hitting an approach over two deep left-greenside bunkers that present an incredible challenge because of the green's severe run-off in almost every direction.


Again, this is a great illustration of the risk-reward opportunities Shinnecock presents. Challenge the bunkers and fescue on the right for an open look at the green. Fail however, and it's basically a one-stroke penalty and you might need a weed wacker to find your ball. Play it safe off the tee on the other hand, and you'll be hitting your approach from the short grass. Of course that comes at the price of an awkward angle into the green that makes 90-percent of the area a minefield of trouble. Damned if you do, damned if you don't.
HOLE #5 "Montauk"
Par-5, 589-Yards
Even before I reached the 5th hole, I made a conscious decision to go for it on both of Shinnecock's par-5s. Whatever the risk-reward of the hole, I was going for greatness. And on this hole it panned out.


Your tee shot is into a double-fairway. The right side is safer with a wider landing area. You only need to pop it out there 240 yards or so. The left side puts you closer to the green, but requires you either hit left of or over two enormous bunkers encircled by rough and fescue. This drive requires more like a 260 yard carry. I strengthened my grip a bit, waggled my Callaway Rogue, and pretty much split the bunkers. I was in great shape.


You'll see the pros go for the green in two this week, but I don't have a 300 yard second shot in my bag, so I was going to have to lay up short of and to the left of a fairway bunker about 40 yards long. My second shot put me about 135 yards out from the green.


The putting surface has various contours that make hitting middle-long the best place to find the middle of the green. Too short and a false front will take you off the green. Too long or left and you're in big trouble as the run-off becomes more extreme. I put my third shot to three feet of the pin for an easy birdie and a much needed adrenaline boost.
HOLE #6 "Pond"
Par-4, 491-Yards
No. 6 is another tee shot that offers you a safe and large landing zone on the left, but dangles the riskier right side for a better look into the green. If you hit your drive left you'll have a poor angle into the green on approach - effectively narrowing the landing area while also having to carry the lower left bunker.


Tee shots hit to the right run the risk of fescue induced bogey or worse, but if you find the fairway it's an open look to the green over the only water hazard on the course that really isn't in play.
HOLE #7 "Redan"
Par-3, 189-Yards
It's the largest green on the course but also the most wicked. Redan's most distinguishing feature is the putting surface that slopes away from the tee box and right to left.


You have to fit your shot shape to the green - which means hitting the side slope rather than the down slope. Two shots hit within one foot of each other can funnel towards the hole for a birdie attempt or roll endlessly off the green.
Missing a spot by only a few feet on the 178-yard, par-3 No. 7 Redan green at Shinnecock will be the difference between a good birdie look and severe right side punishment. #RoadToShinnecock #usopen pic.twitter.com/8QwMRExTzo— Pete Pappas (@PGAPappas) May 21, 2018
Despite being almost 40 yards long from front to back, you really only have a small target to hit, and the two bunkers on either side of the green will punish gross inaccuracy.


Missing in the right bunker is disastrous as you'll be chipping onto a green that runs straight downhill from your target line. The side view of this green shows why being above the hole is certain death.
HOLE #8 "Lowlands"
Par-4, 439-Yards
From the tee there's more room to hit a wider right-side fairway, but the ideal landing zone is the left side for a cleaner look into the green. A 270-yard drive over a vast sand and fescue waste area is required to hit the left side, but only about 240 yards is needed to stay safe on the right.


Right side drives will flirt with more danger on approach - needing to carry a series of three bunkers with long fescue waiting to capture errant shots even further right. While left side drives really only have one long, shallow greenside bunker to contend with.


The green is small with fall-off virtually around the entire perimeter making the best shot to hold the green as close to center as possible.
HOLE #9 "Ben Nevis"
Par-4, 485-Yards
The 9th hole is the start of a three-hole stretch of blind approach shots where bigger, more dramatic hills make their debut. Sandwiched between the 1st and 18th holes, No. 9 is a bridge connecting where you've been with where you're going.


The ideal target off the tee is the green and white clubhouse canopy in the distance. Shots that find a ridge in the center of the fairway will funnel down another 30 yards into a huge swale. You'll have to hit your drive at least 260 however to take advantage of this roll out.


On approach you're then looking at a blind shot of about 175 yards to a green that's perched extremely high above the fairway. In fact, the green is so elevated it plays a good one-and-a-half clubs uphill. Do not underclub. Anything that misses short or left is devastating, and basically a golf ball burial ground of golden sand and fescue.
READ MORE: Shinnecock Hills Golf Club Review - 2018 U.S. Open (the Back-9)
No comments:
Post a Comment