
Around every corner of this masterpiece golf course is a wow-moment and "I was here" photo spot that can turn memorable rounds into some of the most favorite we ever play. And the conditioning is every bit as pristine the day you play it, as it is the week the PGA Tour comes to town for the RBC Heritage.

It's a strong, stimulating test of golf with tight, tree-lined holes and challenging greens that emphasizes strategy and shotmaking in a classic architectural setting. Winds can swirl in just about any direction, and you'll have adjustments to make with some holes more exposed than others. Here a detailed look at my hole-by-hole Harbour Town Course Review: The Back-9.
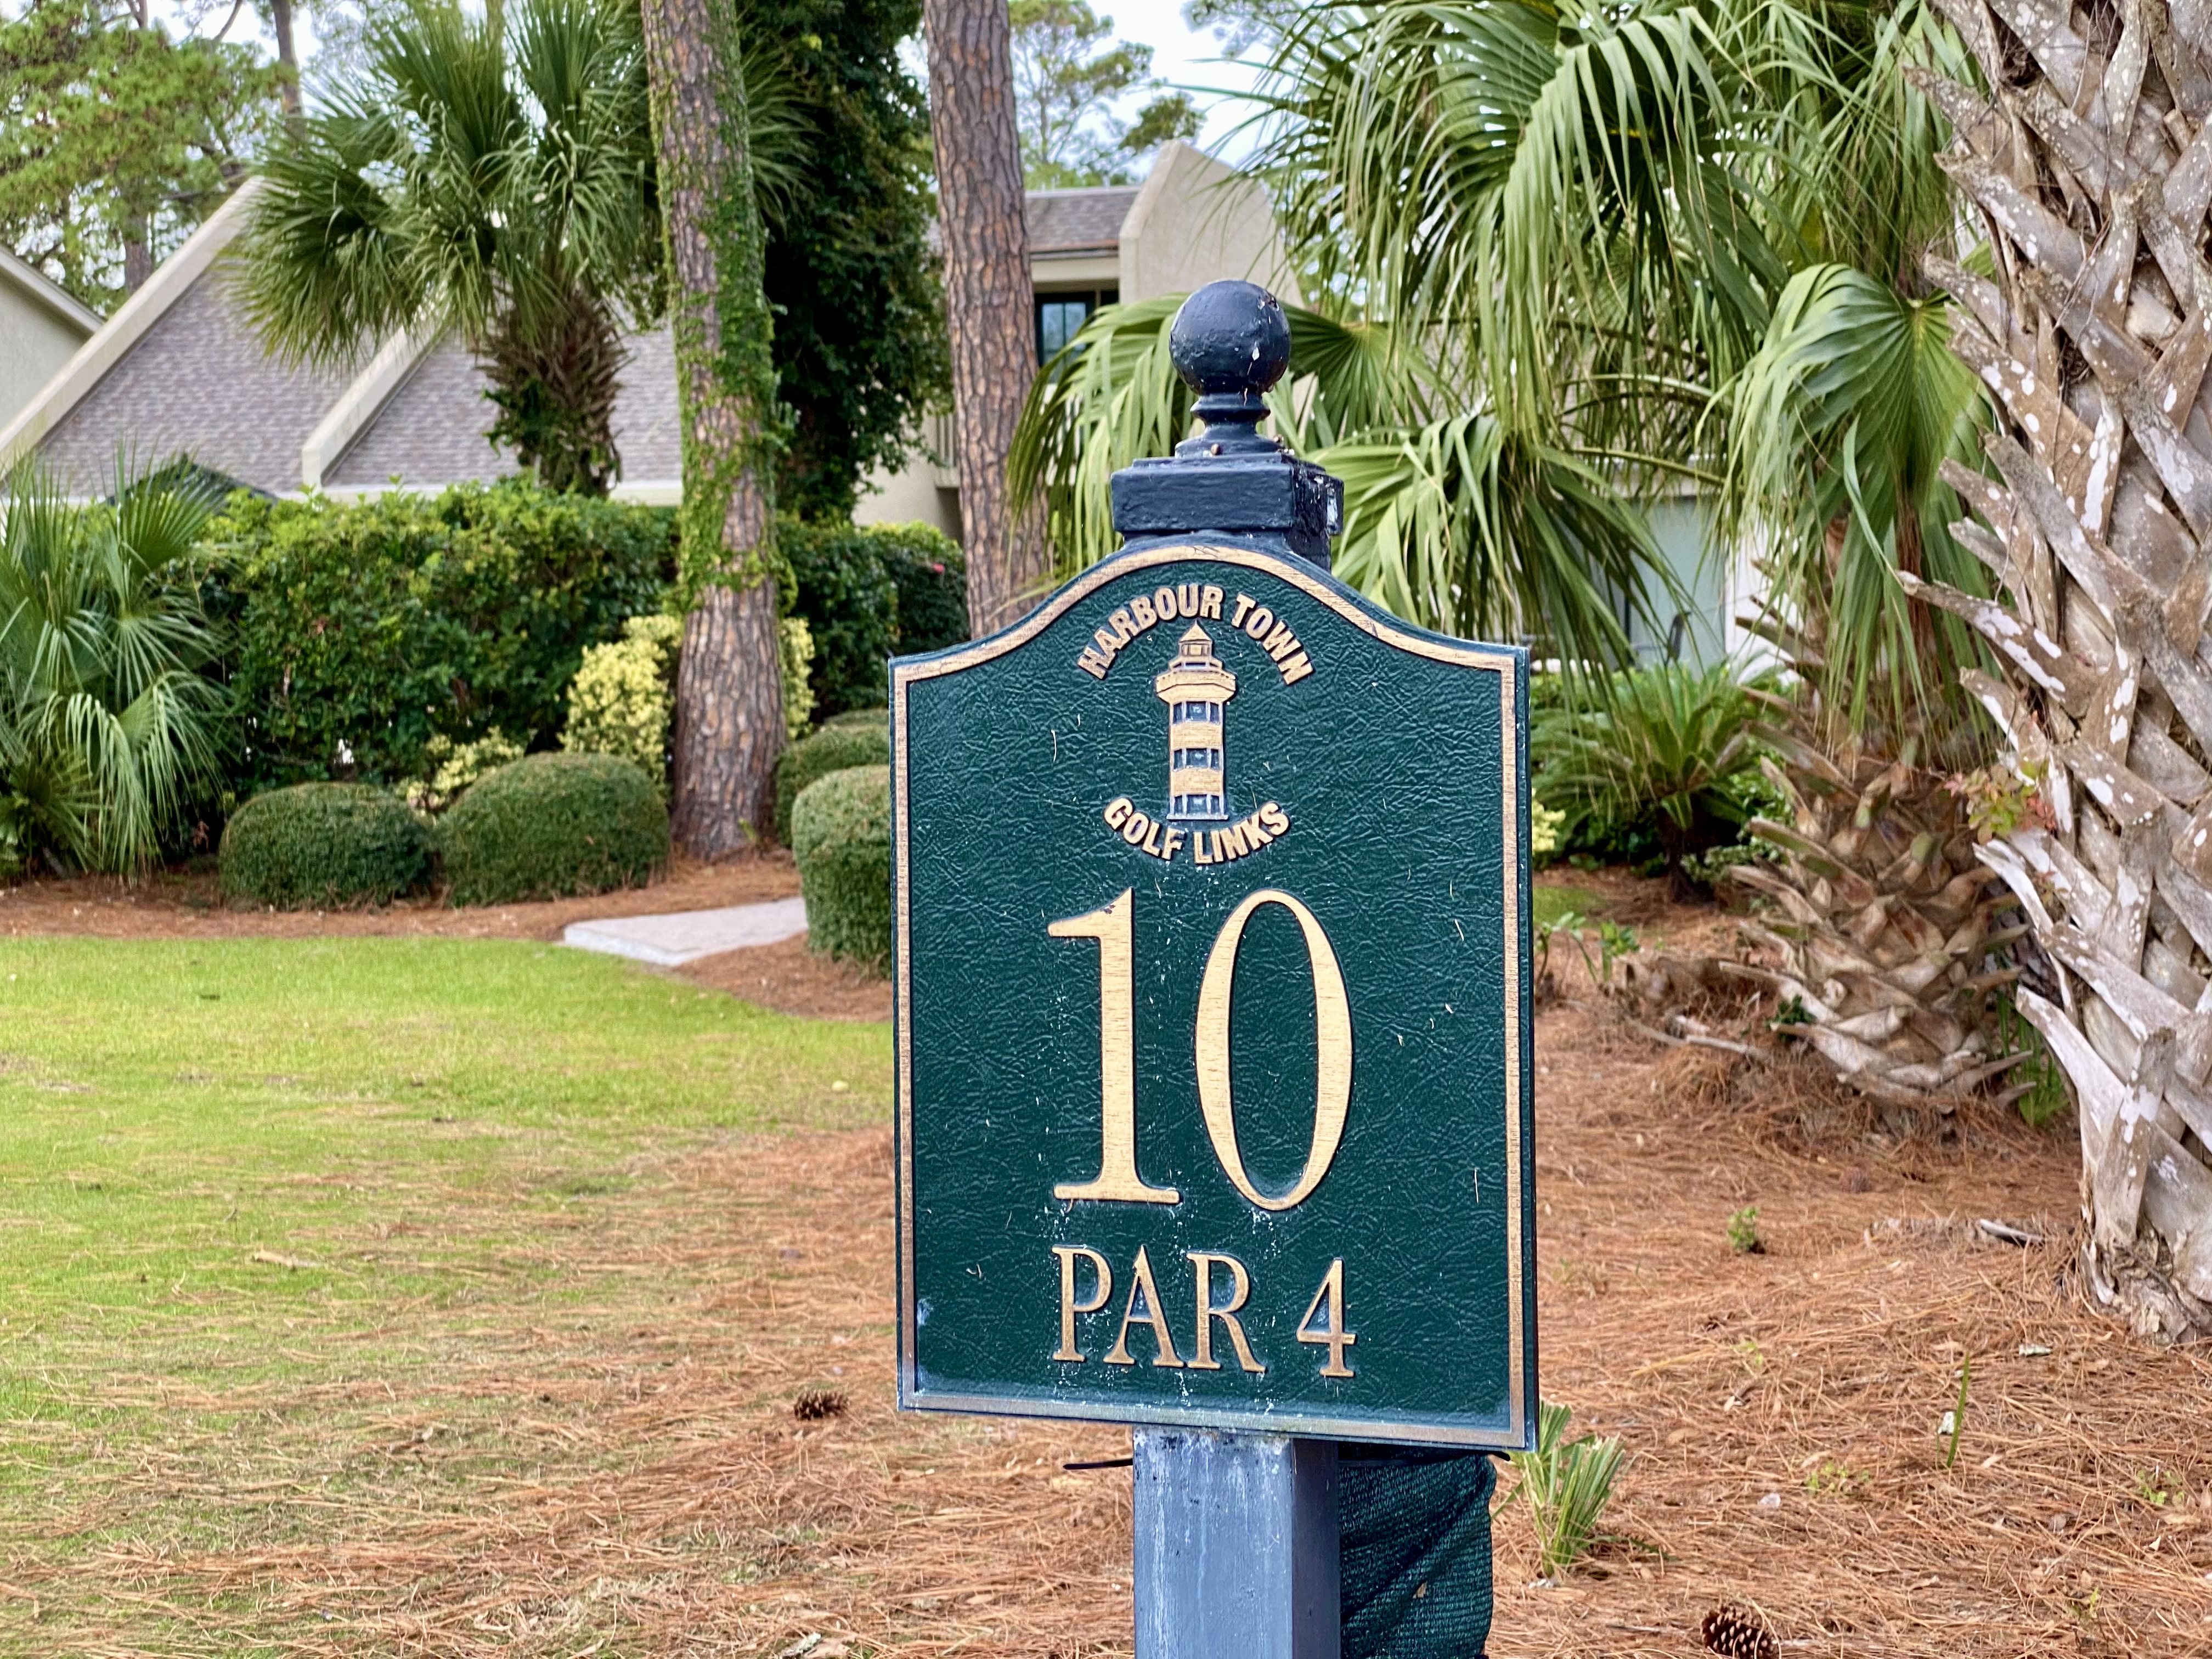
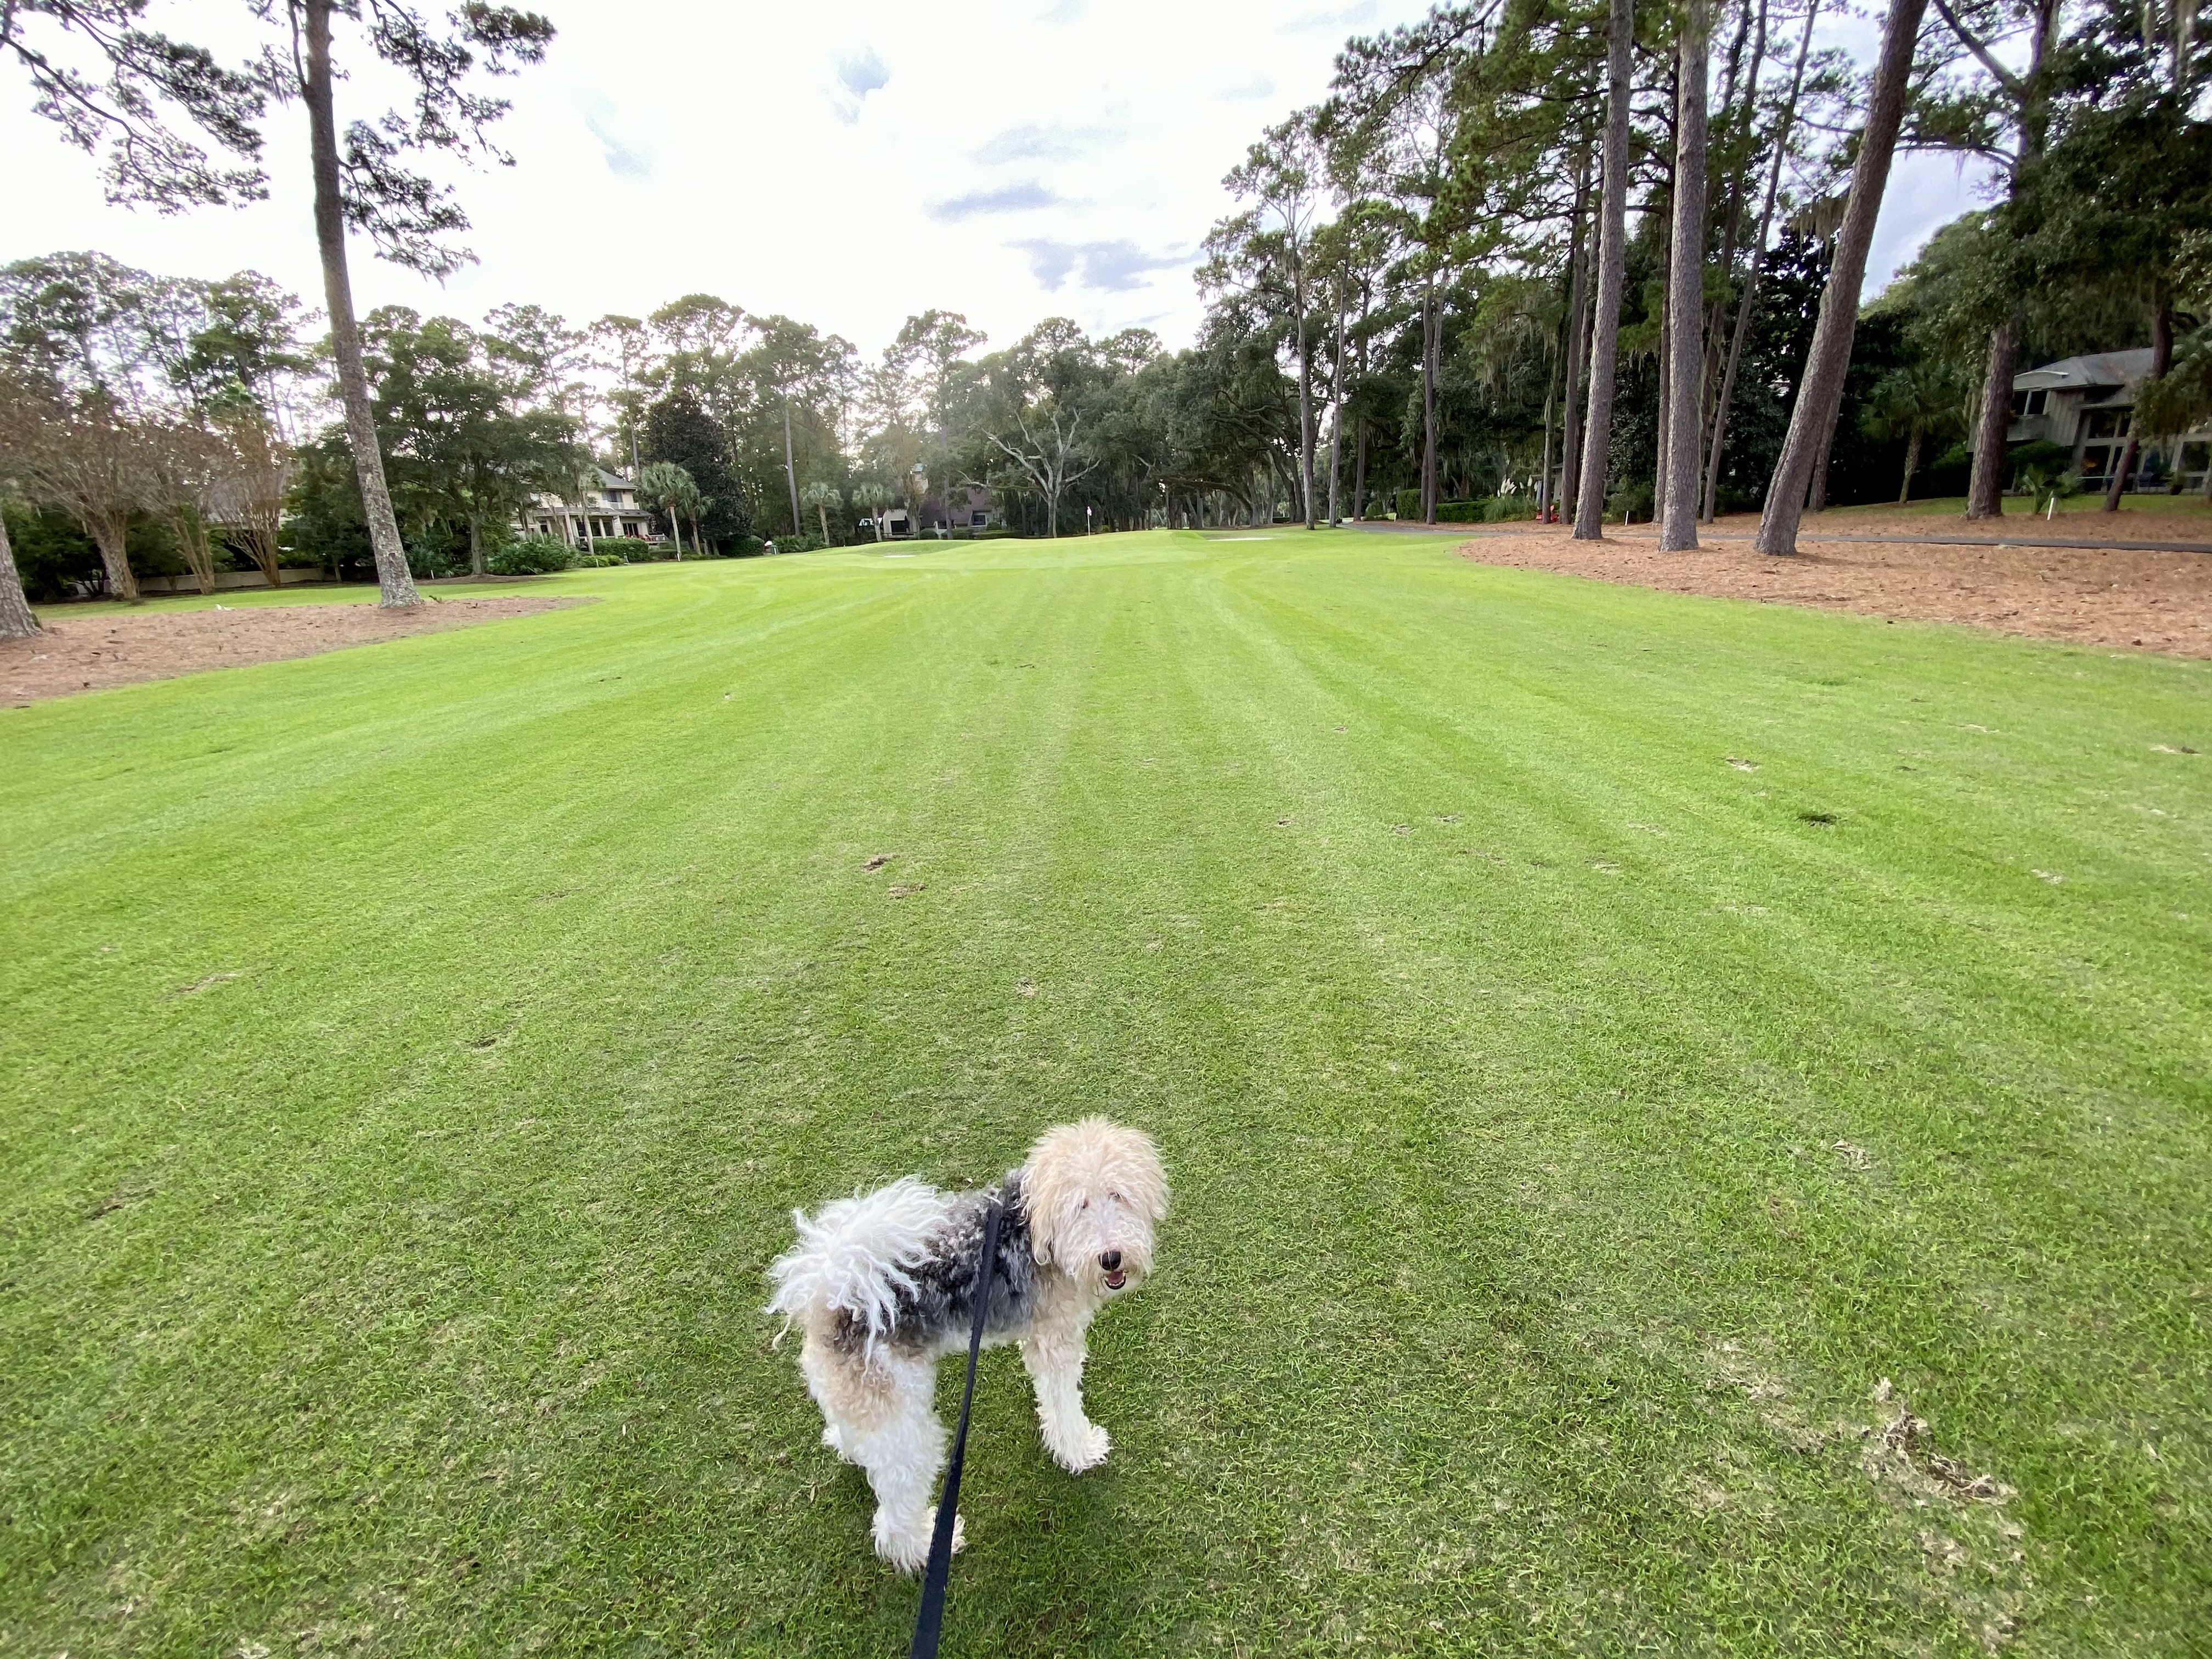
HOLE NO. 10
Par-4, 451 yards (421 yards Blue tees)
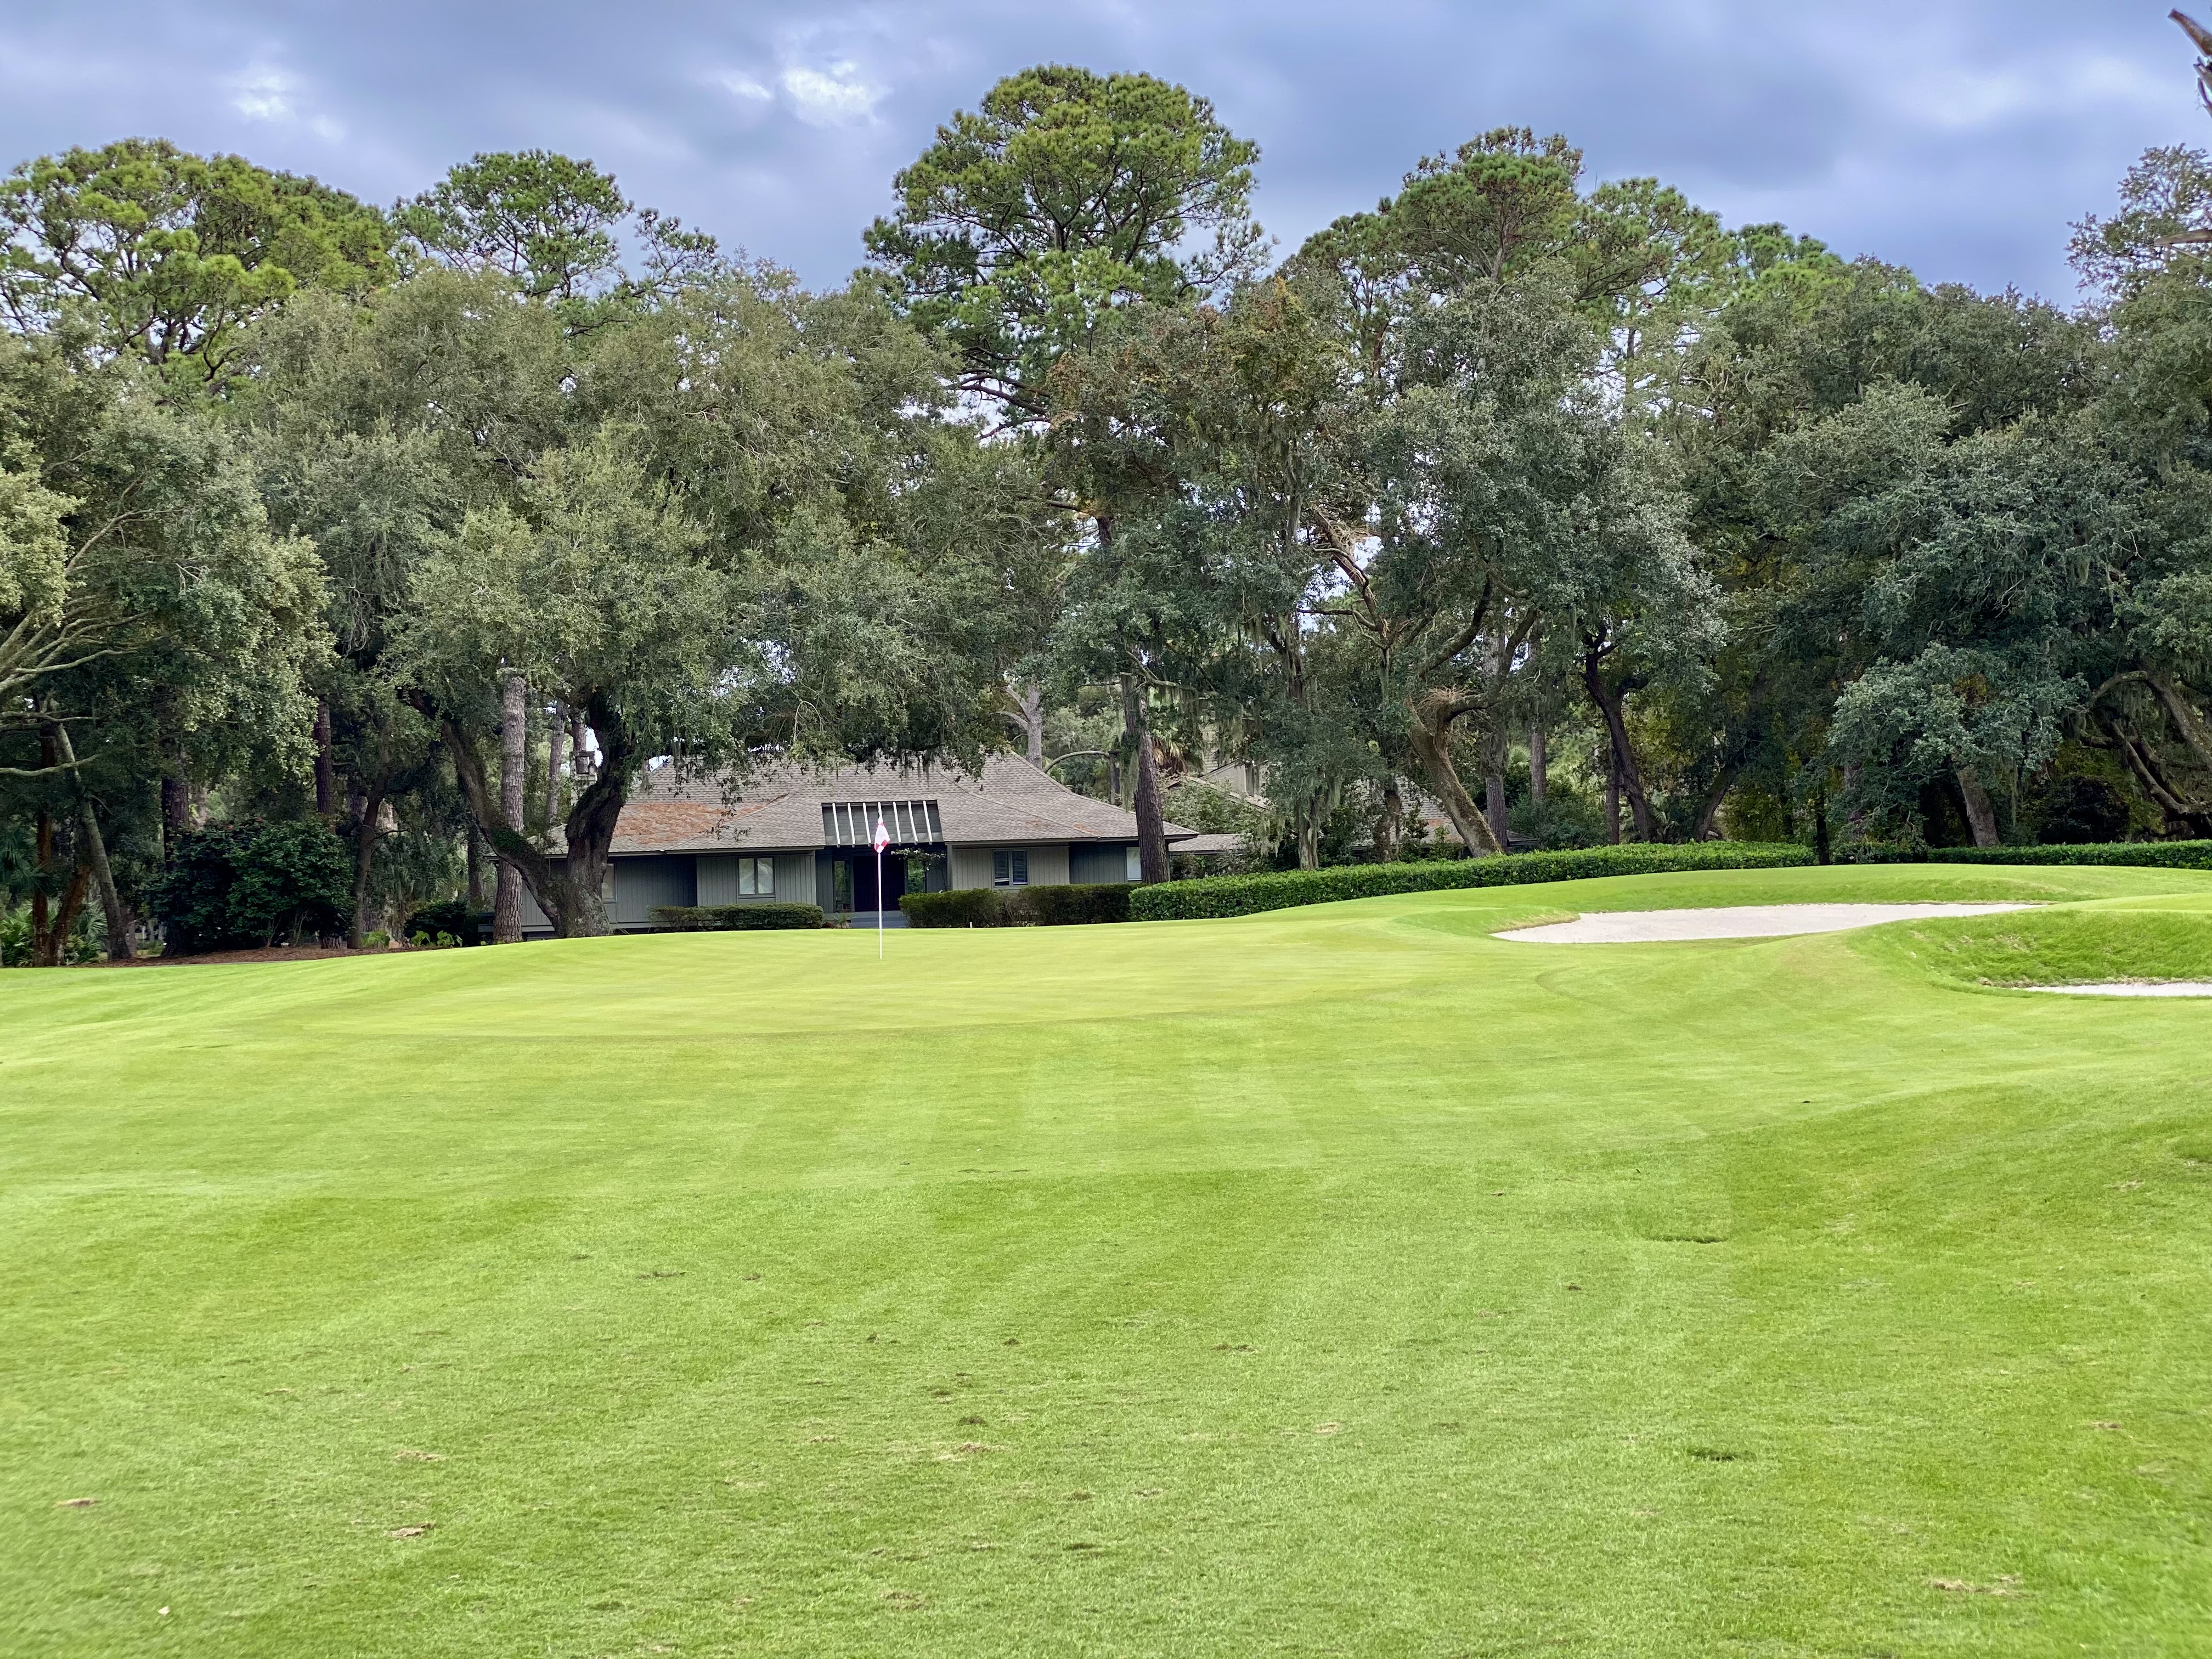
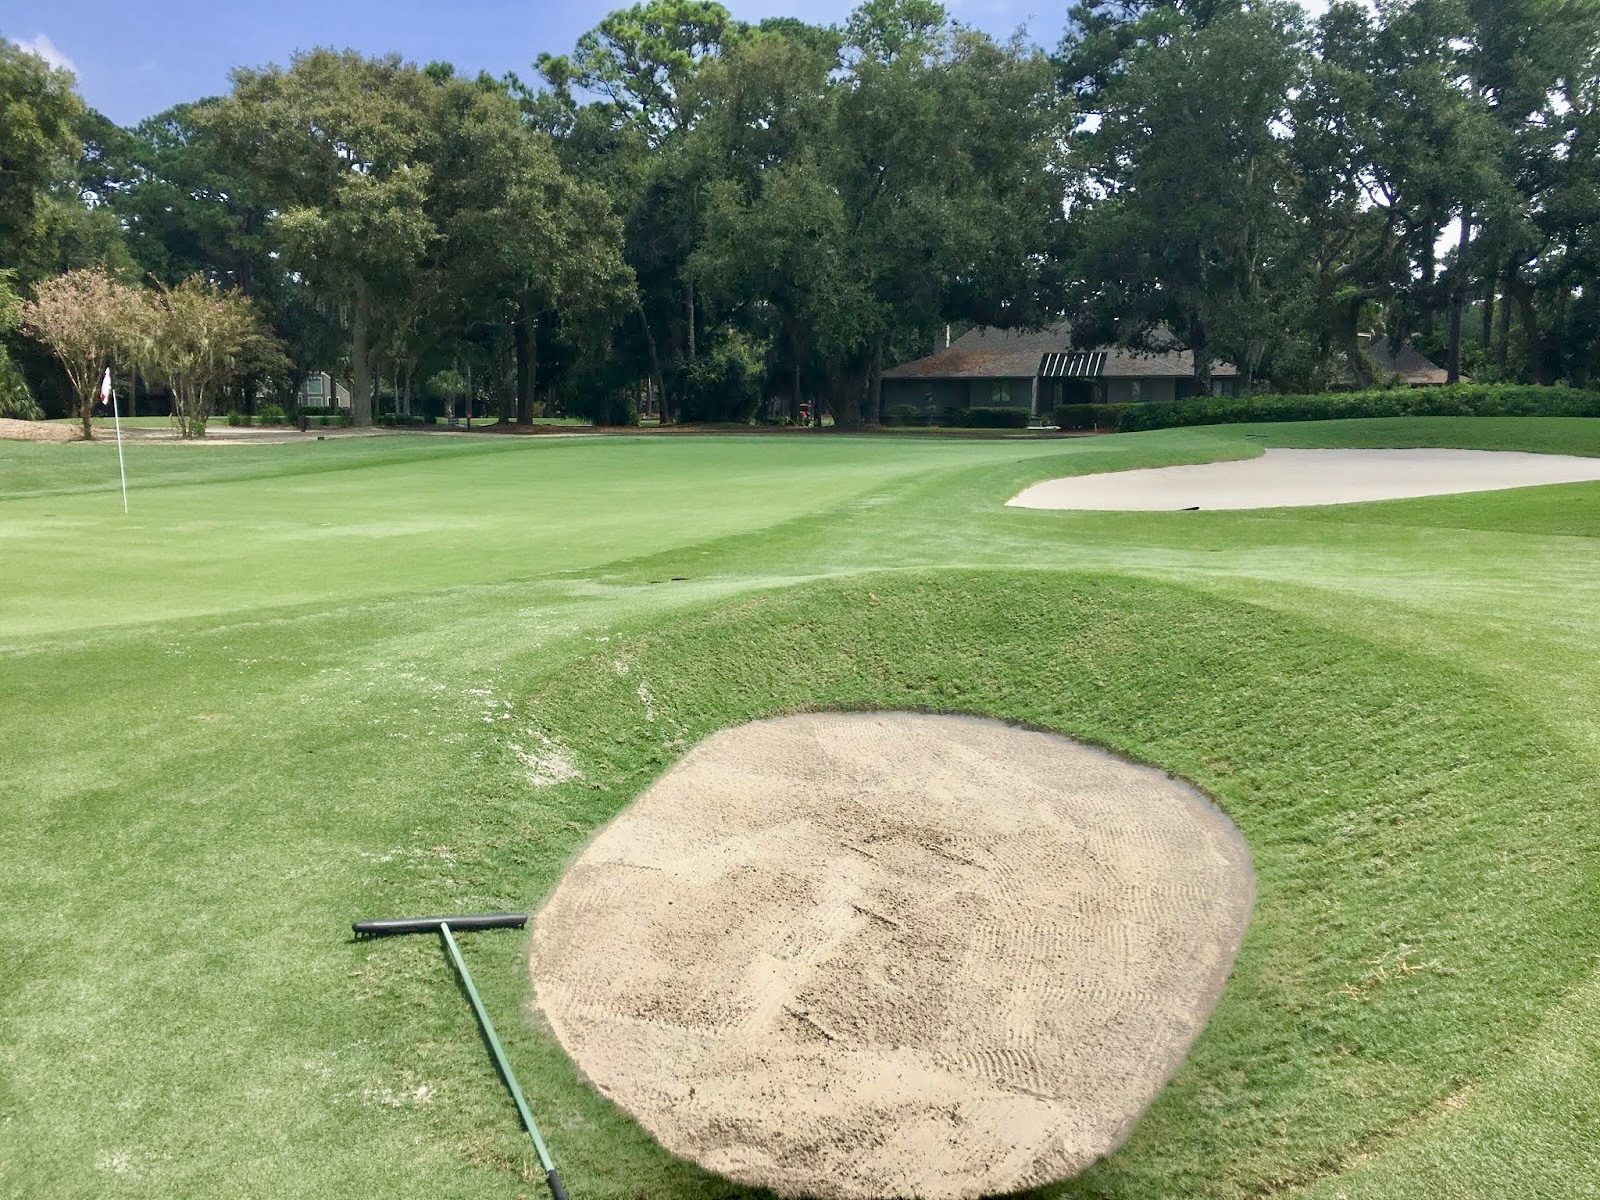
One of the wider fairways on the course tempts you to swing big and let it rip, but this can be dangerous if you overcook your drive. A lagoon guards the entire left side of the fairway.


Ideally you want your drive in the middle or left fairway for a straight second shot into the green. Too far right off the tee however, and you'll have to negotiate a tree on that side that that extends into the fairway and partially obstructs the putting surface.


The deep, narrow green is well protected by two strategically placed bunkers on the front and back right. And if you find the trees long and left you'll almost feel like you're in a forest. Good luck pin-balling out from there, as you might take you multiple shots just to escape.


HOLE NO. 11
Par-4, 436 yards (413 yards Blue tees)Another demanding tee shot awaits on the slight dogleg-left No.11, and requires pinpoint accuracy through a tight chute of trees with waste areas and water also lurking on both sides.


Center of the fairway off the tee is going to give you the cleanest look into the green on approach. Too far left and your second shot will be closed off unless you absolutely bomb your drive. The right side is generally preferable to the left, but a tree just short of the putting surface can narrow your window and knock down shots.


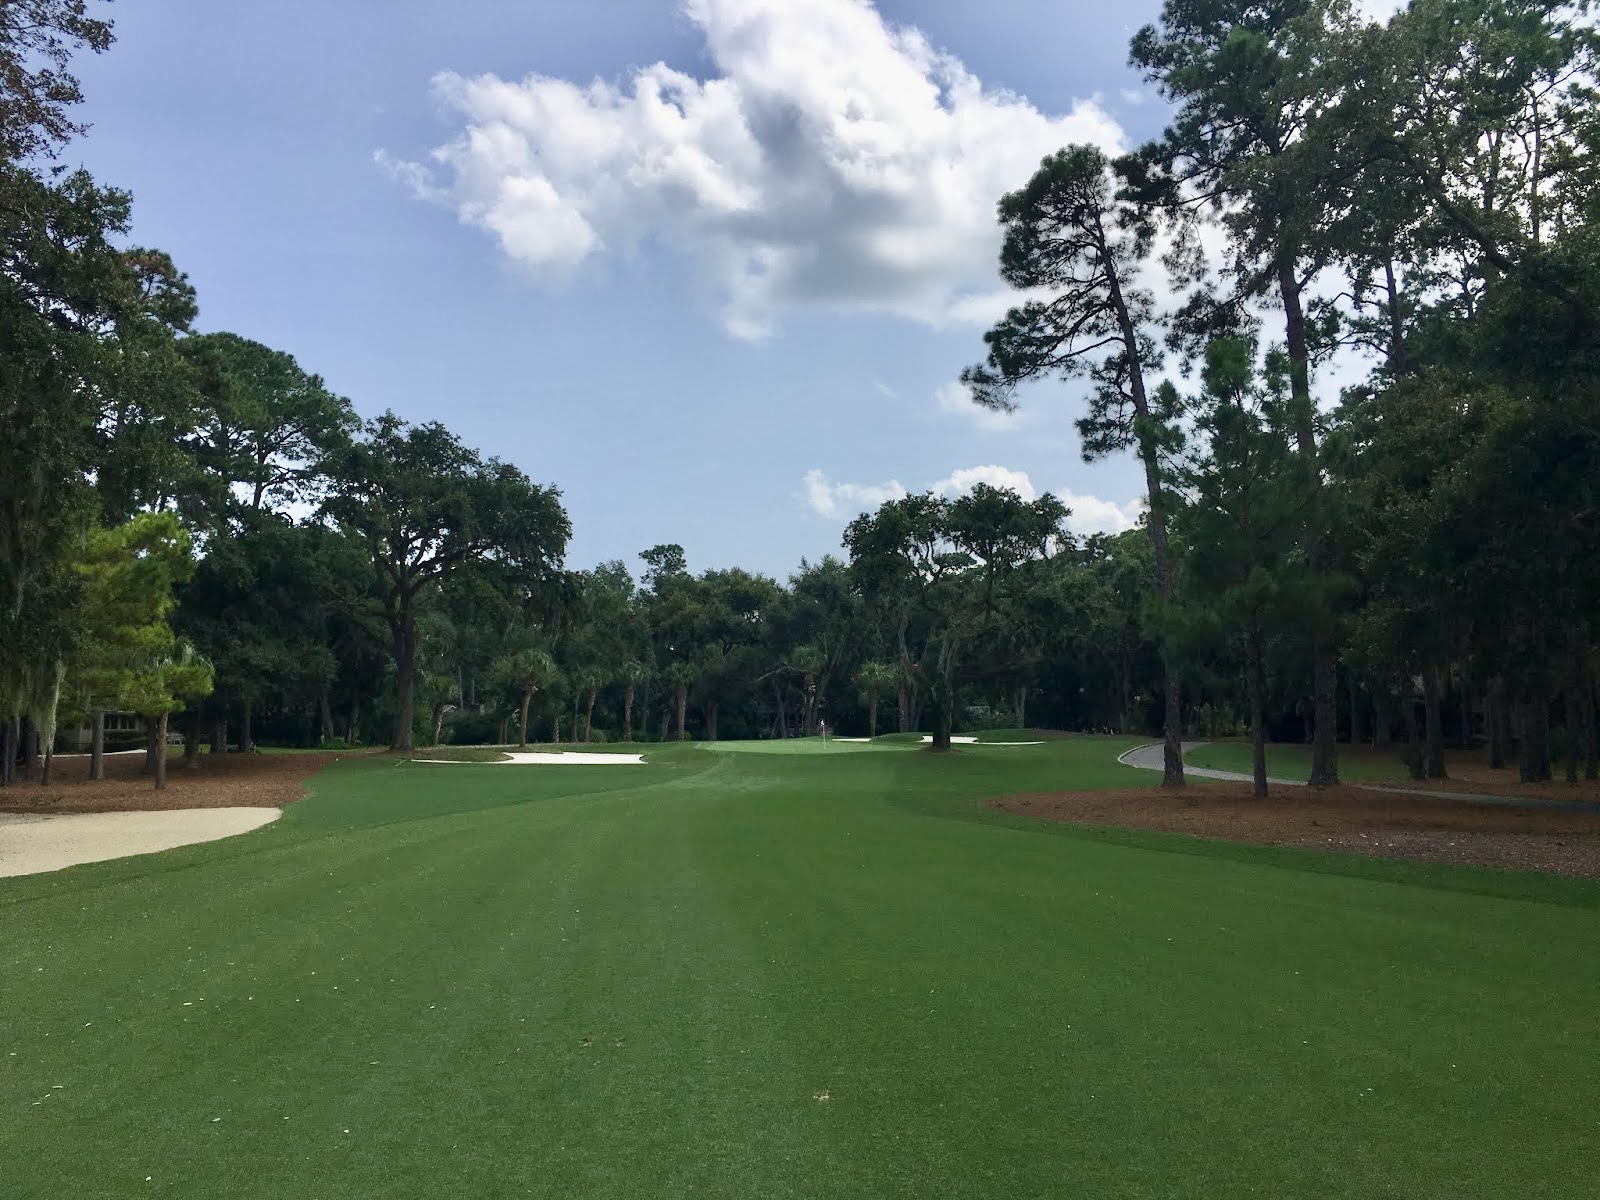


A long, narrow green is flanked by one large bunker on the left, three more bunkers and some tricky mounding on the right, and collection of trees just outside of that. If your mid-iron game isn't precise, this hole can become complete and utter carnage.


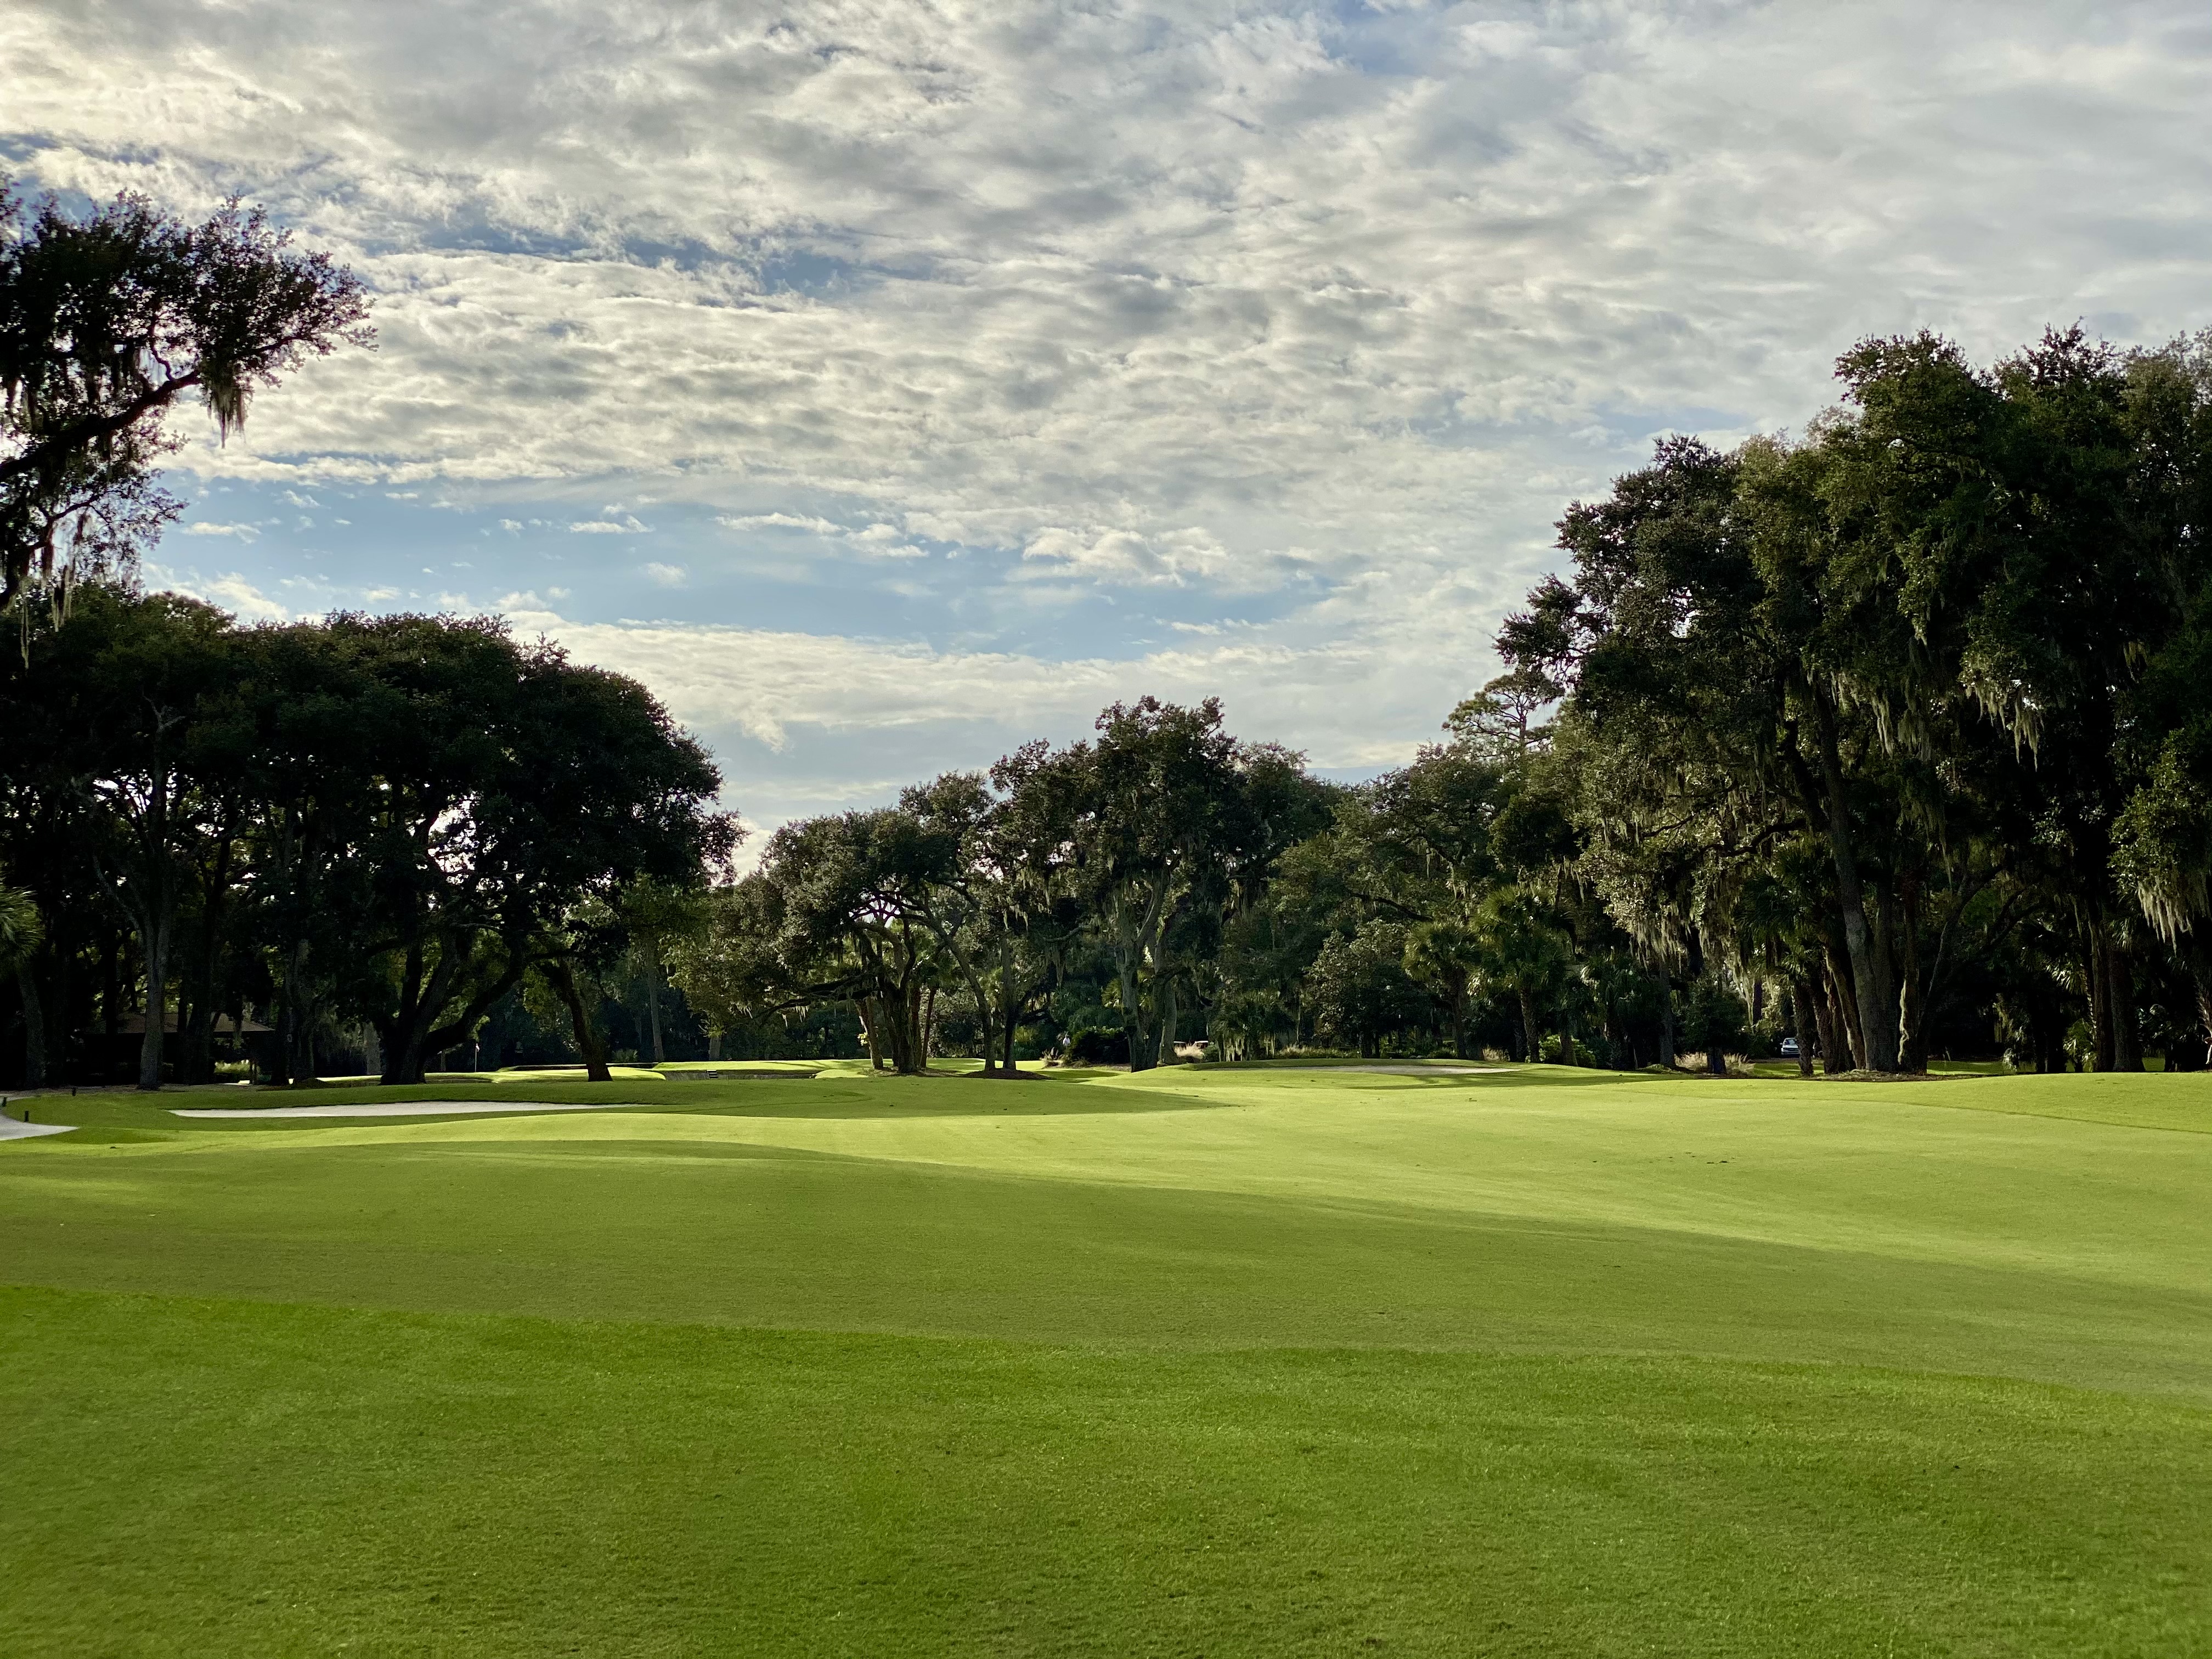
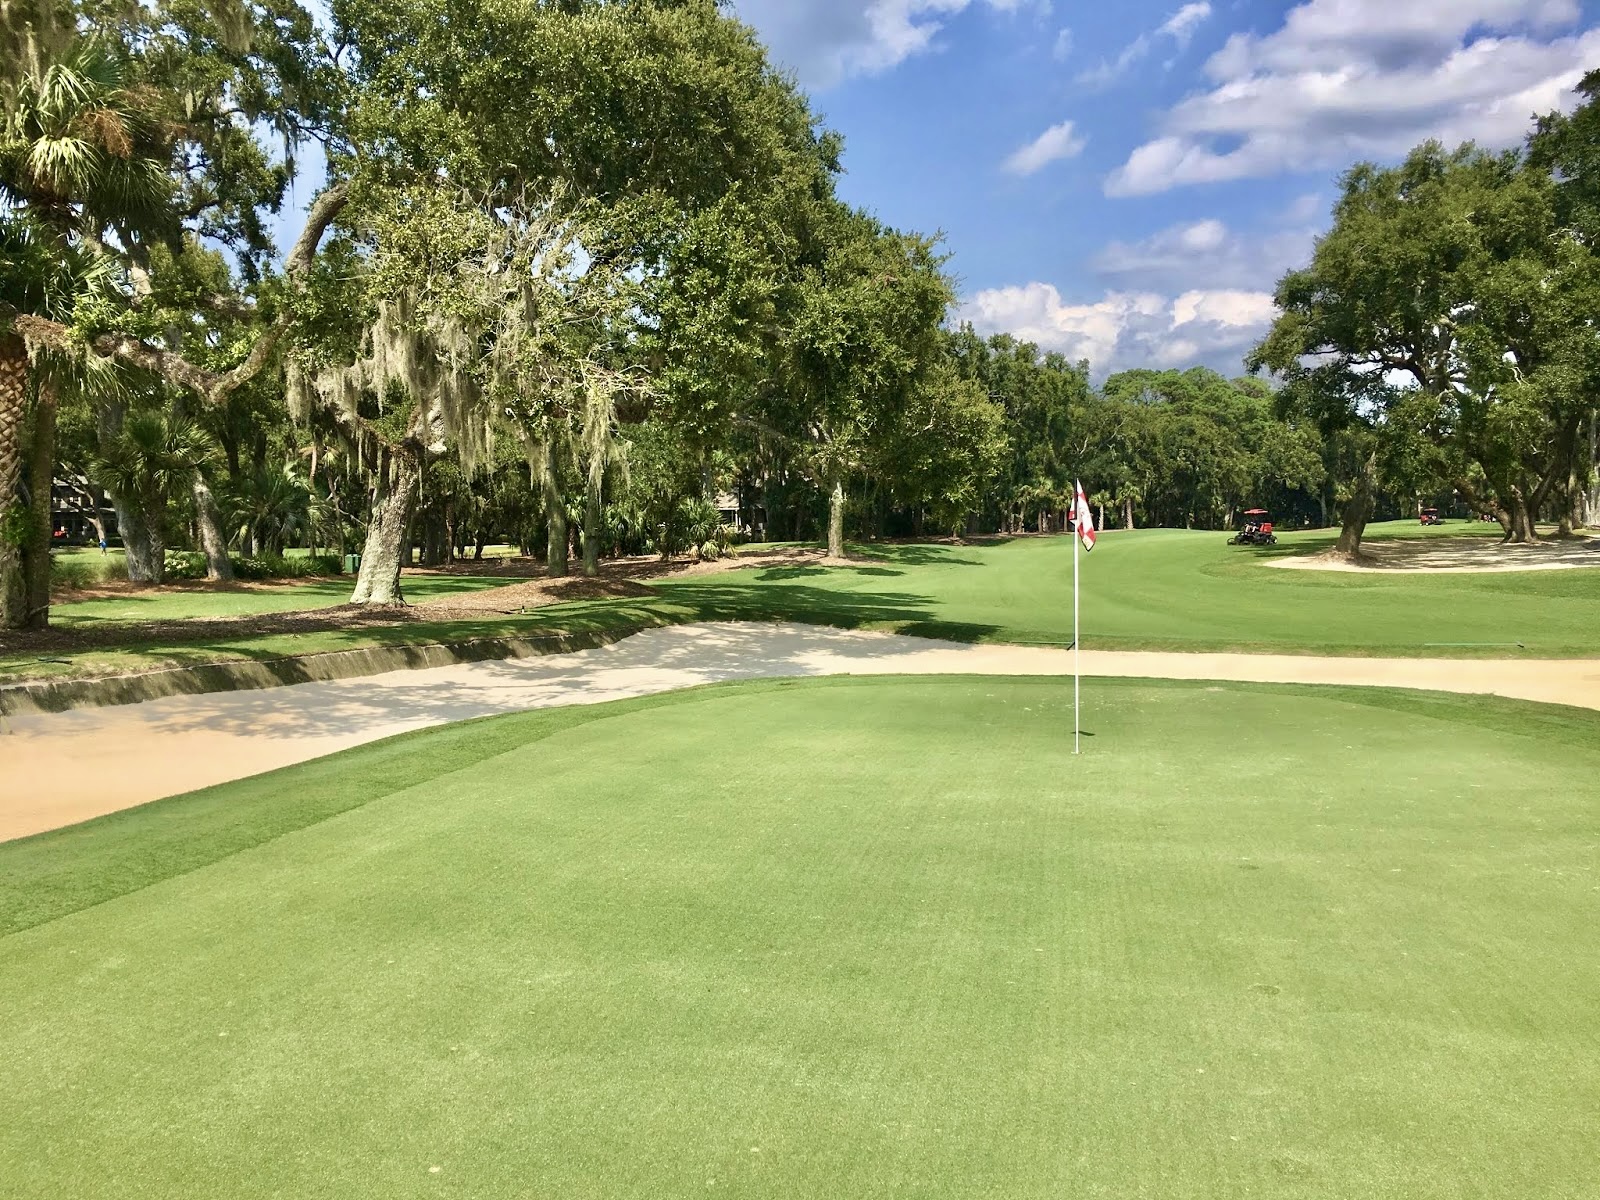
HOLE NO. 12
Par-4, 430 yards (404 yards Blue tees)Only a drive that reaches the corner of a pretty severe dogleg will have a shot at the green. It's a shorter distance to the right corner, but also one that's filled with more peril if you find the pine straw and trees.


The green is so deep it can be up to a three club difference on approach depending on where the pin is cut. And precision is required to avoid the two large bunkers flanking the front left and right sides.


Even what appears to be a good shot on approach can take a big bounce off the boomerang shaped green, or even roll off the back as the green slopes down on both sides to tough chipping areas. A severe dip in the middle of the putting surface with a dramatic fall off to the left makes pin positions on that side extremely challenging (and of course that's where the pin was the day I played).


HOLE NO. 13
Par-4, 373 yards (354 yards Blue tees) The perfect drive on this dogleg left hole is pretty much going to be straight to slightly right in the fairway. If you find either of the fairway bunkers or miss too far on either side you won't have a clean look at the green. On the left your approach will be blocked by overhanging branches. While too far right will bring a large Cyprus tree that fronts the green into play.


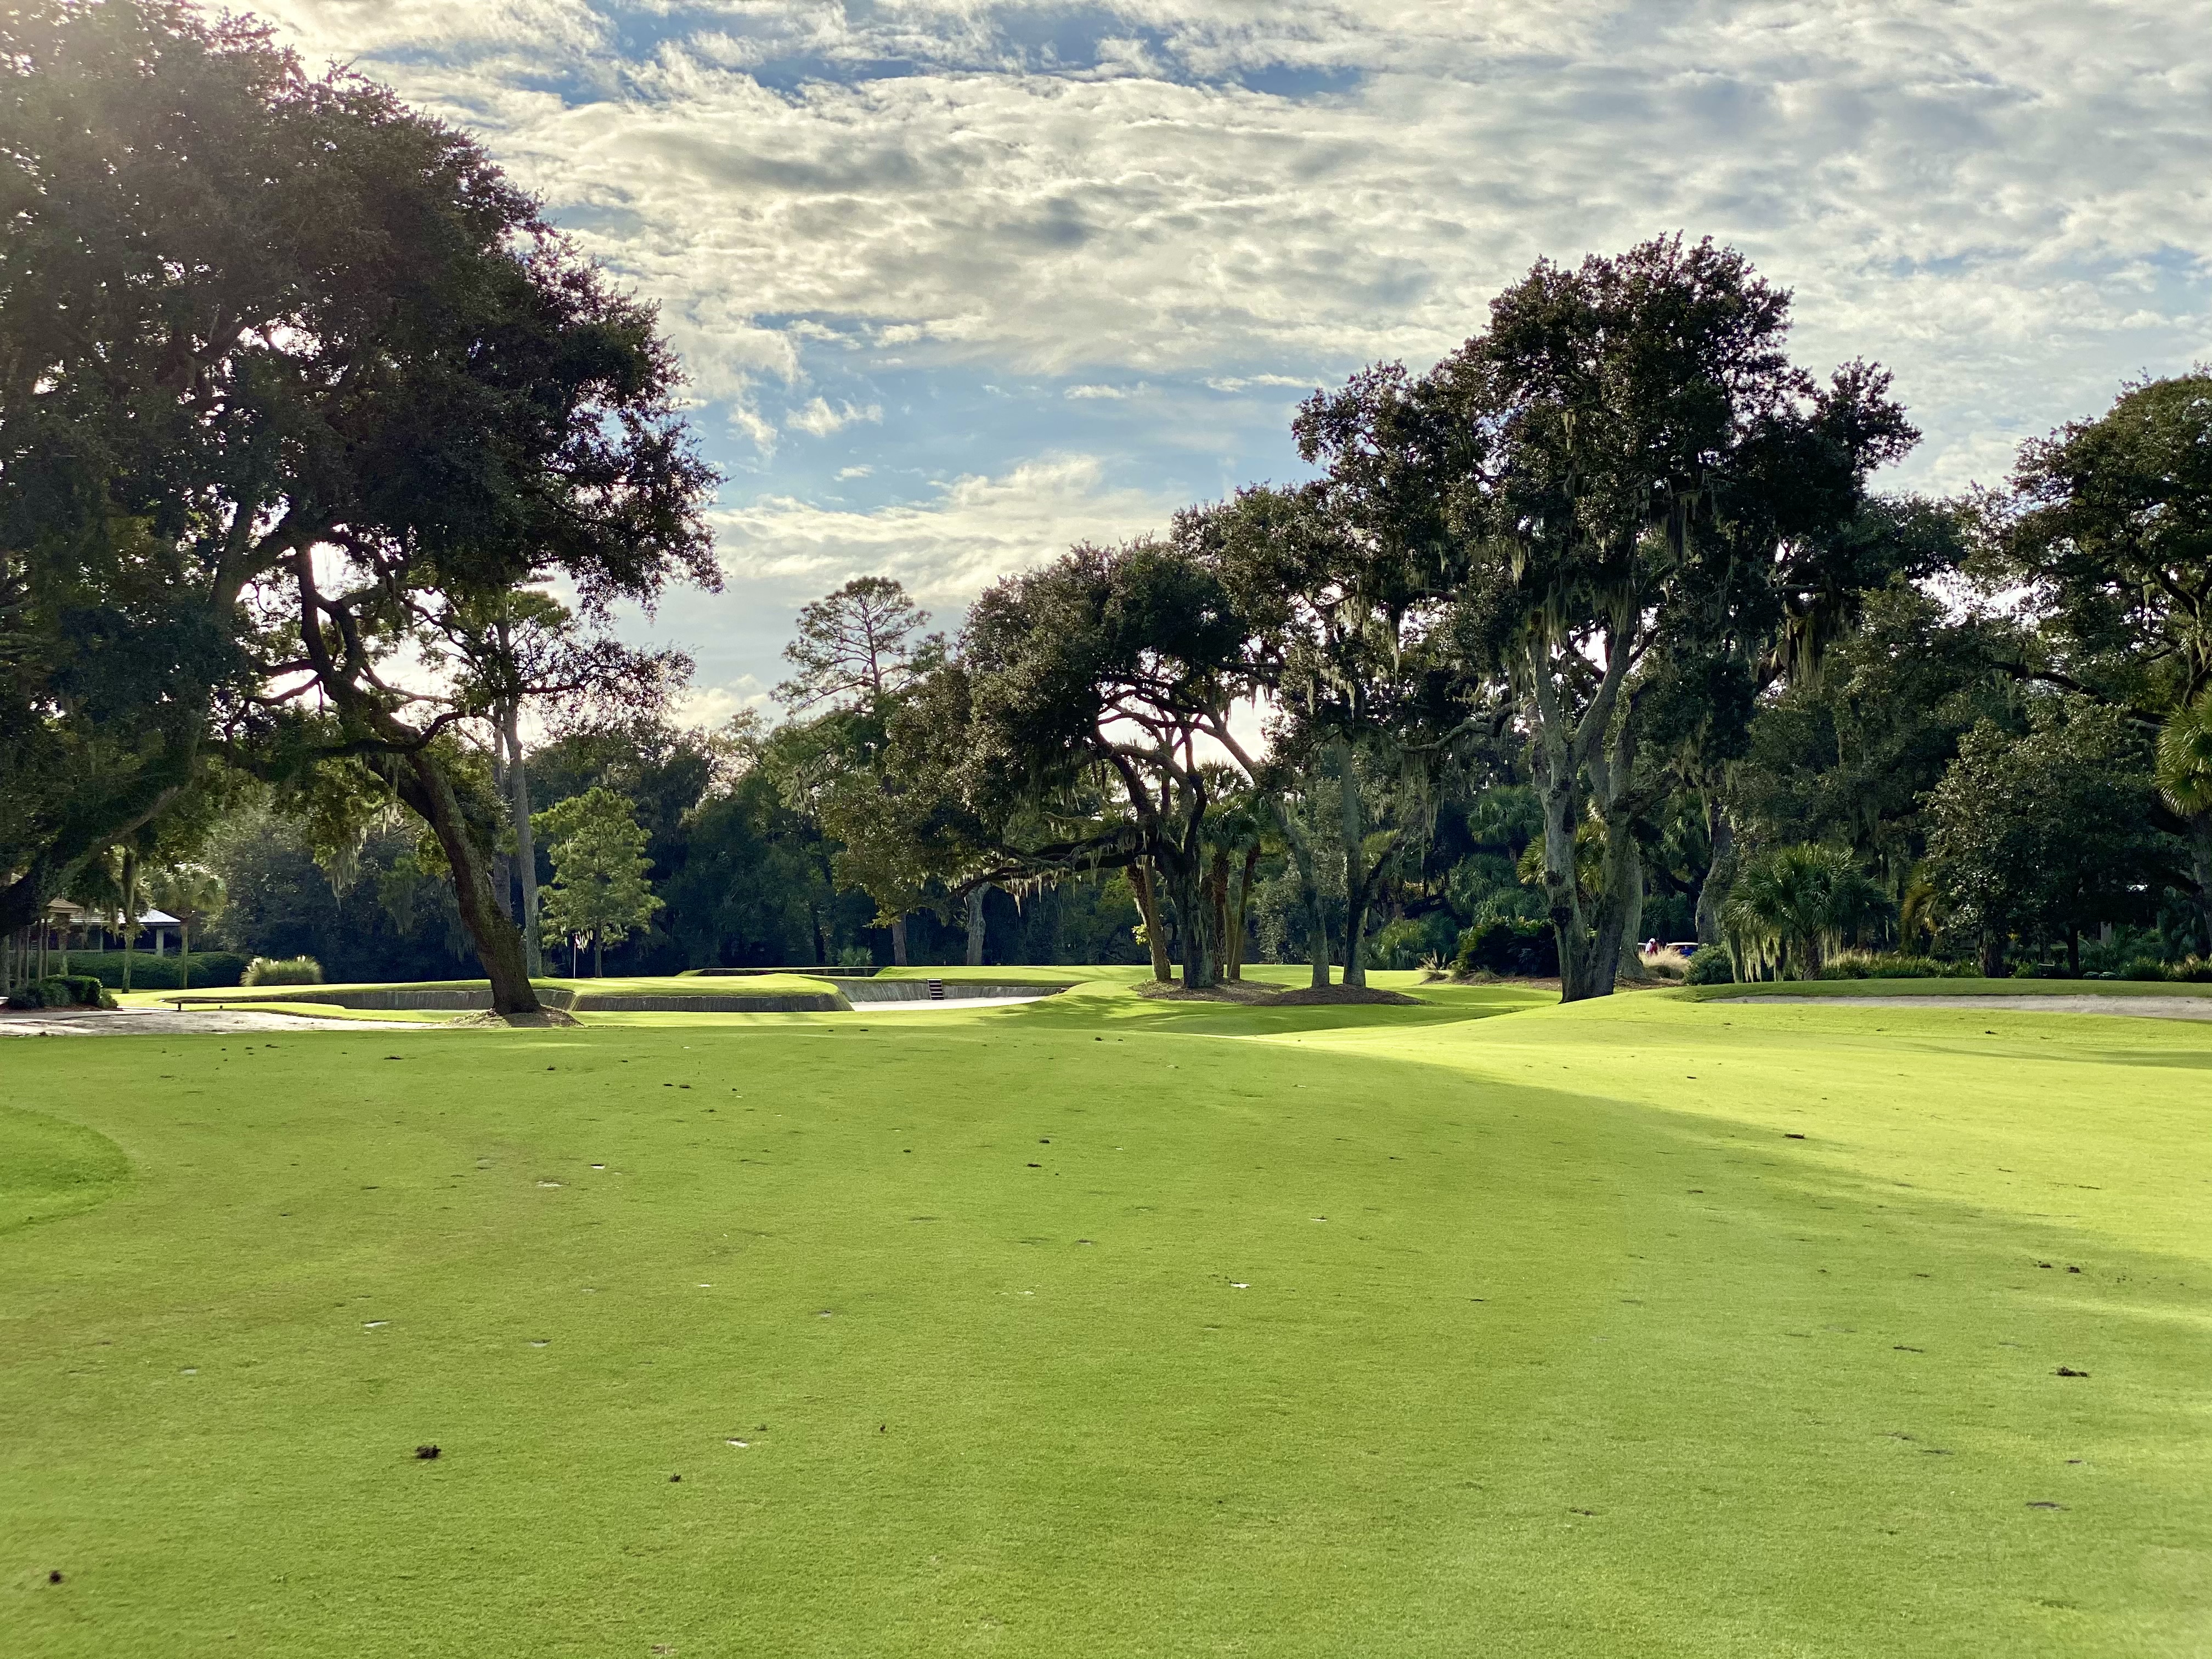


On approach you need to fit your shot between a narrow corridor of two large oak trees, and be careful of the aforementioned cyprus tree.

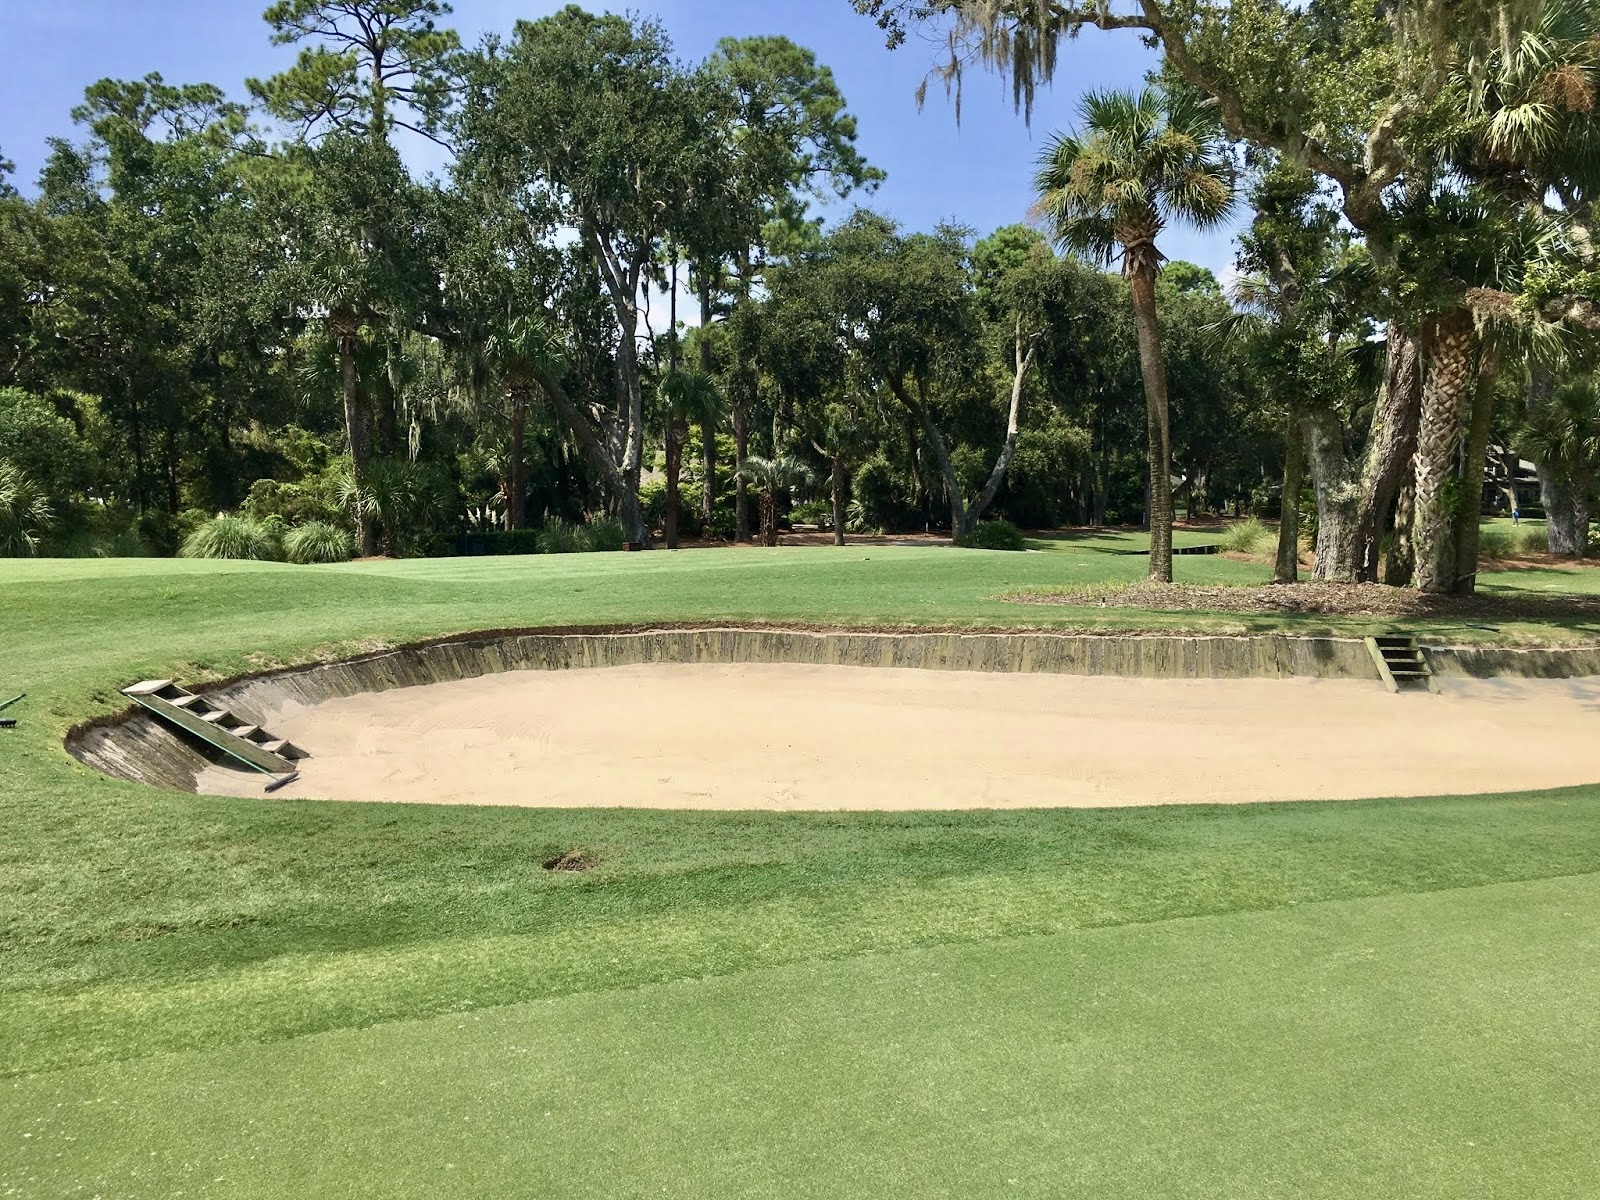
The green is protected by a memorable railroad tie banked bunker along the entire front and both sides of the putting surface. You'll need a ladder to get in and out of this bunker, so that pretty much tells you all you need to know. Don't miss this green.


HOLE NO. 14
Par-3, 192 yards (165 yards Blue tees)I have no explanation why Harbour Town calls this the easiest hole on the course. Nothing intimidating at all about a forced carry knee-knocker over a lagoon that protects the entire front and right side of the green, right? The tee shot is slightly downhill, and the green is a pretty small target.


You can bail out to the left side, but you're still dealing with branches that can knock your shot down into the lagoon. There's also significant mounding on the left side and a pot bunker back left that makes any up-and-down challenging. On top of that, the green slopes from left to right so it's entirely possible you can chip your ball into the water.


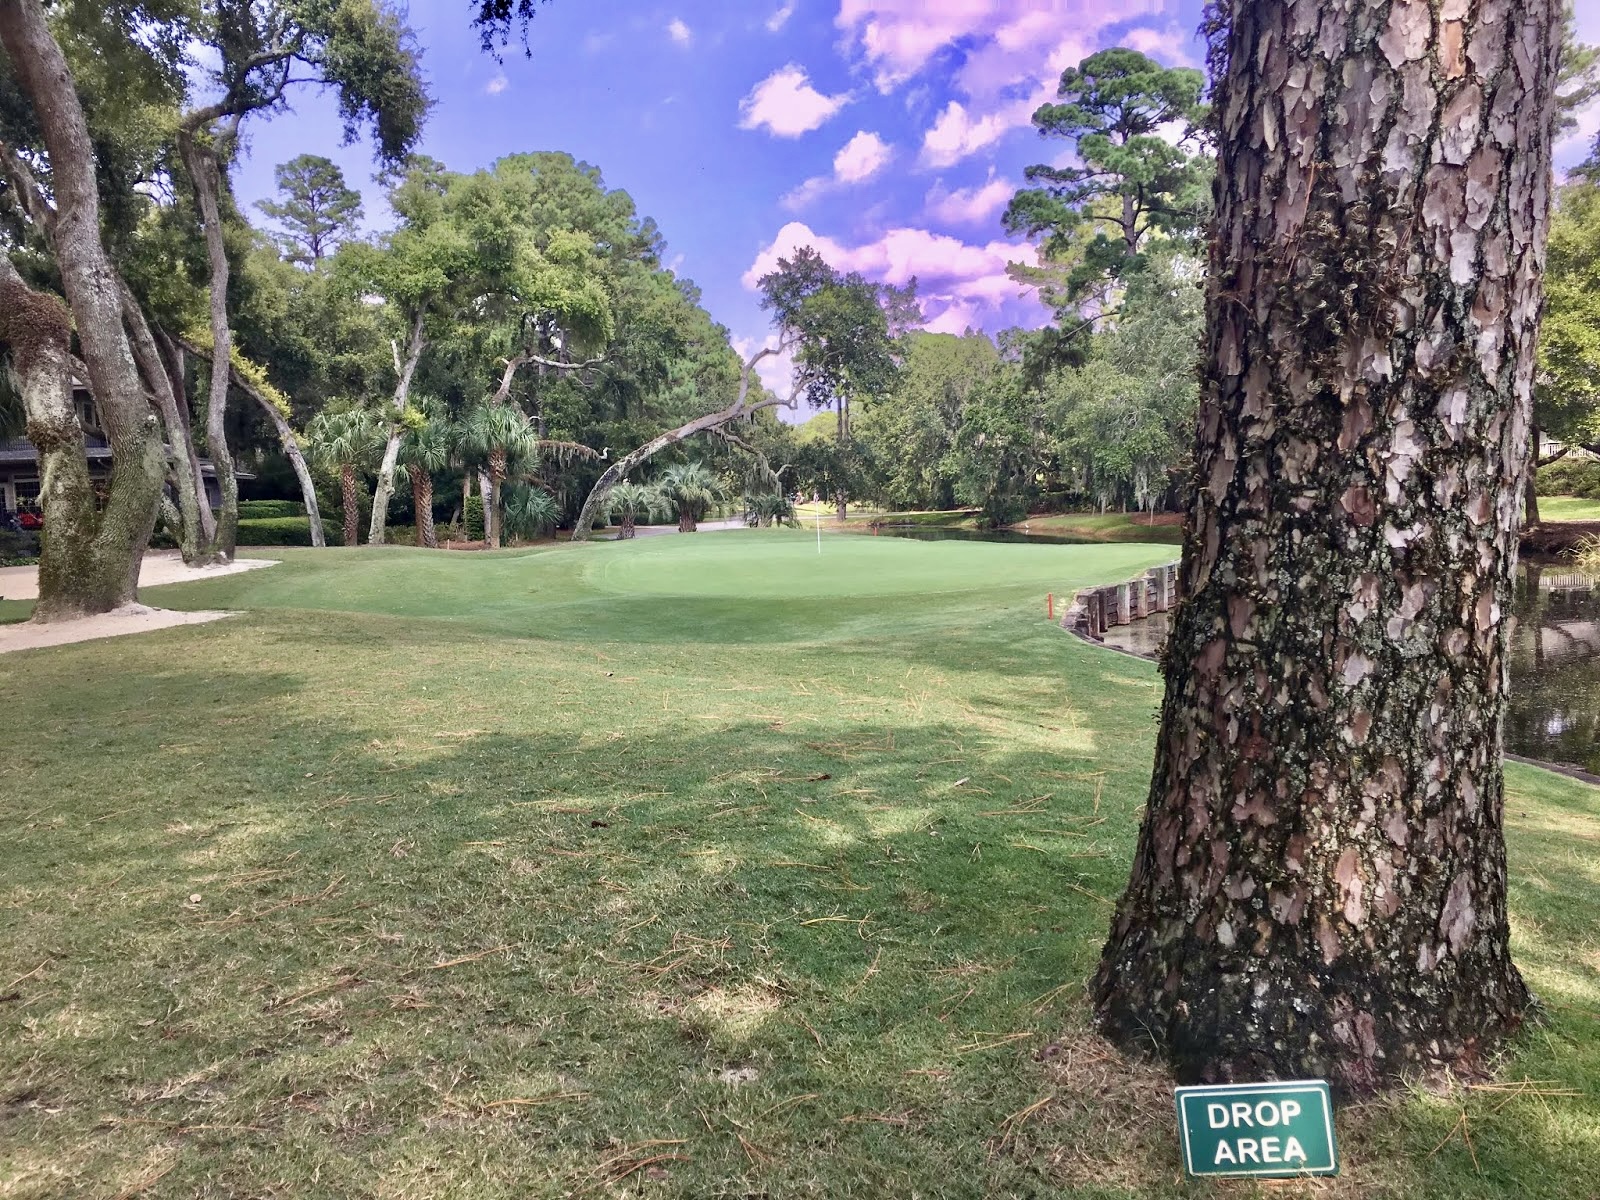

If the pin is cut on the right side, this is a brutal shot. Branches are again in play to swat balls into the water, and make the small green an even smaller target. The safe play is always going to be aiming for center of the green, and fortunately the day I played that's where the pin was cut.


HOLE NO. 15
Par-5, 588 yards (571 yards Blue tees)This monster hole is a true three-shot par-5, and requires careful planning and positioning on every shot. Perilous bunkers, water, and waste areas are in play from tee to green.


Keep your drive in the middle fairway to set up a clean second shot to the slight dogleg left corner. Anything too far on either side will run into all kinds of trouble.


You'll need to be precise on both your second shot and approach as water runs all the way down the left fairway (starting at the dogleg corner) and into the green. The green is slightly undulating, and protected by mounding and deep, narrow bunkers that flank the front left and right.


HOLE NO. 16
Par-4, 434 yards (395 yards Blue tees)Deciding how much of the dogleg left to cut off is your big decision off the tee. The closer you hit left the shorter your approach will be. But be careful, finding yourself in the enormous church pew bunker along the inside corner of this dogleg is perilous.


If you play it safe off the tee and position to the middle fairway, a tree is the only obstacle to avoid (but that's easier said than done). From the right side your approach is longer, but you have a better angle into the green (and you're not hitting over sand).


A cluster of three bunkers on the right are the main protection for the circular green. Come in too close from the left however, and a tree on that side can potentially knock down your approach before you even reach the putting surface. The green falls off quickly and severely in the back.


HOLE NO. 17
Par-3, 174 yards (185 yards Blue tees)You need steady nerves and accurate club selection just to find the putting surface on this penultimate hole and final par-3 on the course.


With Calibogue Sound and Dafuskie Island in the horizon, you're hitting over a water into a small, narrow green fronted by a bunker that runs almost the length of a football field on the left side. You normally don't want to be here, but when crosswinds can potentially blow your shot further left into the lagoon, this bunker becomes your best friend.


Wind direction can also roar downwind or back in your face (creating up to a three-club difference in club selection). Hit it long and your ball is lost in wetland. Hit it short and it's rinsed in the lagoon. The green is protected by two bunkers on the right, and one is very deep and tricky to escape. A steep runoff on that side can leave you with a challenging up-and-down about 30 feet off the green.


HOLE NO. 18
Par-4, 472 yards (444 yards Blue tees)With the famous lighthouse as your aim point, you finally get a fairway wide enough to go all-out with driver (it's actually one of the widest fairways on the PGA Tour). The landing area cutting into Calibogue Sound is the safe position, but that leaves you with a more difficult approach. The right side gives you a better angle into the green, but then you risk OB on that side.


Your approach is as long and difficult a second shot as you'll hit on any track, especially into a stiff wind. And you'll definitely be hitting over some wetlands and bunkers no matter what side of the fairway you're on. Missing the green anywhere is going to leave you with a difficult up-and-down.


The green is tucked close to the water with bunkers protecting the front and back. You have lots of bailout on the right side, but steep mounding will make for a challenging recovery.


No comments:
Post a Comment